
Ceramic Materials Workshop - Understanding Glazes Class
As anyone who has been watching my Instagram posts and stories for the last few months will know, I’ve just done the CMW Understanding Glazes class. A lot of people have been asking me about it, and the glaze I developed during the class, so here’s a brief summary of both.
Also, if you’re reading this at the time it’s posted, CMW are doing a giveaway until the next class starts in July. You can win a free place on the course, just go to their Instagram page and follow the instructions on the recent posts to enter.
What is it?
The class is a series of video lectures over a 3 month period. It starts with the more fundamental topics about what makes up a glaze, explains the materials we work with and what they bring to a glaze, sets out a framework for understanding the behaviour of any glaze based on the underlying chemistry, and then rounds it all off with a discussion of glaze issues and how to fix them.
This is the format the lectures follow, and there are some great videos like this for free on their YouTube channel
The lecture-only course is those 14 videos. They are released weekly over the 3 months, which gives a nice pacing to the information. You can rewatch lectures as many times as you want (once they’ve been released, and during the course. To access them after the 3 months is over, you can become a patreon) but you can’t skip ahead. Initially I wished I could watch more at the start but found, as each video builds on the last, that the pacing allows the information to really sink in.
The full course is run 4 times a year. It includes Labs and fortnightly Hangouts. The Labs have you pick a glaze to examine, then there are a series of experiments to deconstruct and alter the glaze to demonstrate firsthand the concepts explained in the lectures. The hangouts give you a fortnightly online meetup with Matt and other participants in the course, and allow you to ask any questions and get feedback on your Lab results.
Who is it for?
Obviously, it’s for people that make their own glazes or plan to start making them, but beyond that I think there’s a very broad audience. Even though it deals with the chemistry and a mathematical way to understand glazes, it makes those topics accessible and engaging. So don’t be put off if those were your least favourite subjects in school.
While you absolutely could do the class if you’ve never made a glaze before and don’t have any ingredients yet, I think you might not get as much out of the class as you would otherwise. The flipside of that is that you’ll definitely make fewer mistakes with glazes once you’ve taken the class, so there’s a good argument for taking it as soon as you feel comfortable in the process of making and firing a glaze. I also find it less painful to stock up a glaze studio gradually over time. Buying all the ingredients at once will feel a lot more expensive!
The information you’ll learn will be really helpful if you want to start creating your own glaze recipes from scratch, but will be just as useful if you just want a way to compare and understand other recipes you find on the internet or in books. A great example of this would be Strontium Blue, which is described as a cone 6 matte. Looking at it after taking the course I can see there’s nothing in there that would allow it to fully melt at cone 6 (along with a few other issues), so it’s actually just a really underfired glaze. That explains the unique colour and weakness to acid. Being able to look at the UMF and at least start to understand what it means will make finding recipes online less of a shot in the dark.
My thoughts
I absolutely loved the course and I would highly recommend it.
I have tried several times to learn about the UMF and to understand the chemistry of my glaze ingredients. Both are topics that can be incredibly dry and confusing, and I say that as someone who was genuinely interested and has been playing with glazes for a couple of years as part of my work. I never found a systematic explanation and way to understand the greater context, so what I ended up with was a few fragments of knowledge but no way to connect them to the glazes I was using daily. I genuinely feel like now I can look at a recipe and have at least some understanding of what each ingredient is bringing and why. I can look at the UMF of a glaze and have a reasonable idea of how that glaze will behave, and I have a framework for adjusting the glaze to change its behaviour if I want to.
One thing I’m well aware of is that it’s not cheap. It’s $300 for the lectures and $500 for the course, and that definitely made me pause. At first that might make it seem like it’s only for big studios and really serious/wealthy hobbyists, but I feel that’s misunderstanding the value. It’s expensive compared to free YouTube videos and $30 books, but in the context of the work itself it’s an absolute steal. I can fit $500 worth of work in a single firing, and I lose pieces from preventable glaze issues. Understanding glazes well enough to spot and fix issues before they ruin work is an investment that will pay for itself pretty quickly.
I think the format for the full course is excellent. I think you could learn almost as much from the lectures only, but the framework for the lab experiments and the direct feedback really gives a practical understanding of how to apply the knowledge.
That said, I never managed to join in the Hangout sessions. My son was born part way through the course, and it was difficult to schedule the time. And that was absolutely fine, both with Matt and in terms of learning. You don’t have to do every part of the course if it doesn’t work for you, and you won’t be made to feel bad about it. If you can’t make the hangouts, or just don’t want to, you can watch the recordings of them afterwards. It’s very useful to be able to pause them when you’re fitting it in around feeding and nappy changes!
One of the best parts of the course is the amount you can learn in the hangouts that isn’t directly related to the course. You can ask whatever you want about glazes (you can email questions in if you can’t attend in person), and Matt will almost certainly have a few slides of examples and explanations. I picked up so many extra tidbits of glaze information that I wasn’t expecting to learn.
My Glaze
I started with Hansen 20x5 for my base glaze, and added 8% Rutile. I used 20x5 because it’s been my go-to clear for a while, and I liked the simplicity of the formula. I used Rutile (without actually having tested it in 20x5 first) as I wanted a dependable ivory coloured glaze, and I was a little surprised at how yellow it was in the first test. It doesn’t actually make any difference to what you’ll learn from the tests, but I’d advise everyone to actually test their glaze before starting. There are a few simple conditions Matt suggests for the glaze you pick, which ruled out a lot of my favourite glazes with awkward recipes, but there’s really no excuse for not checking!
Obviously I’m not going to fully explain all the Lab tests here, but I took one of the variations from Lab 4 and tweaked the formula to bring the UMF numbers to where I want them (one of the many things I learnt on the course) and used that as my glaze for Lab 5.
I was particularly interested in using Strontium as a flux. I had only ever seen it used as a main ingredient in matte glazes with strange characteristics, and I thought that was from something inherent in the ingredient. Matt showed us that it's perfectly capable of making a normal glossy glaze if the glaze chemistry allows it, and it was something I wanted to explore further.
The recipe is here.
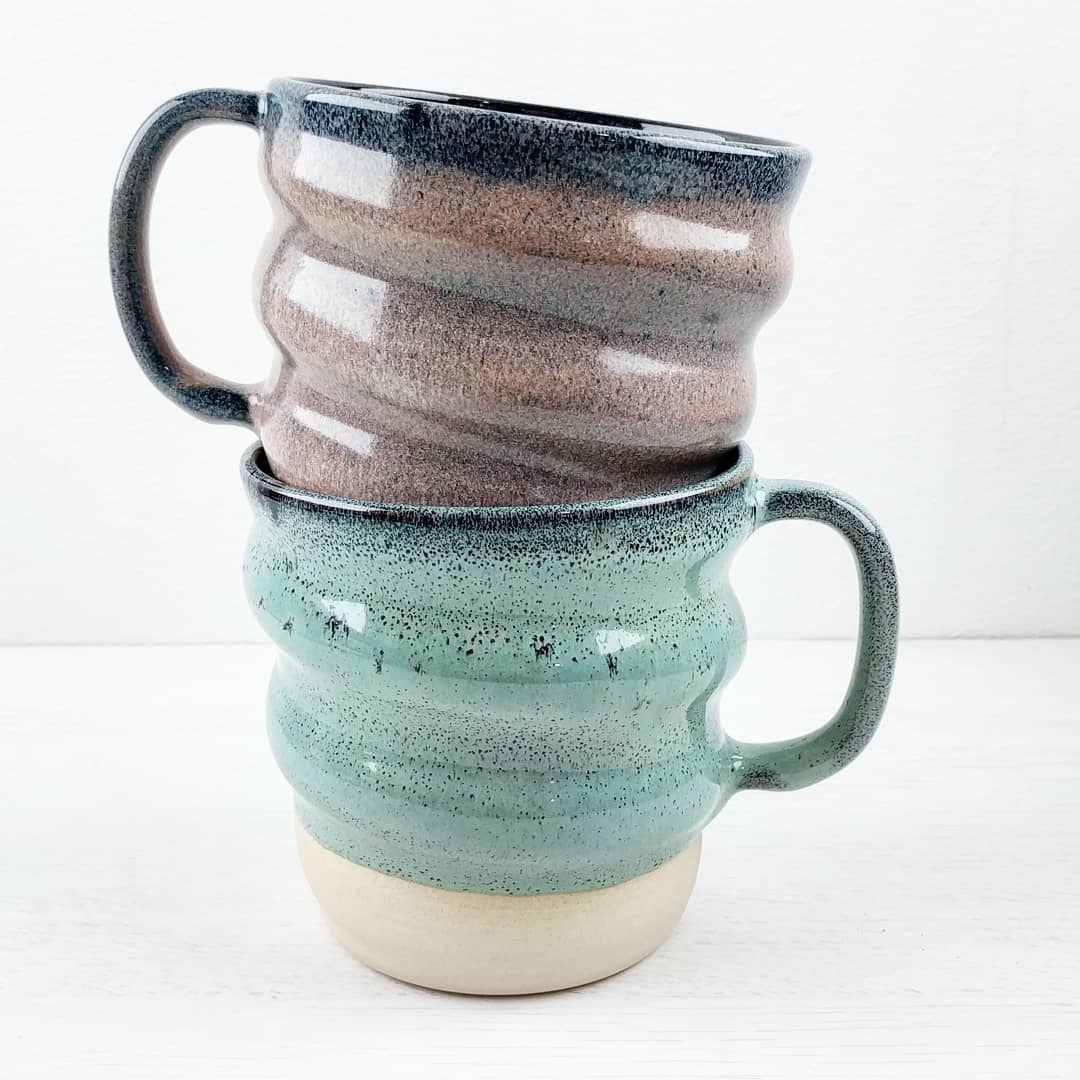
Without the rutile, it's a glossy clear, but it's far more interesting with it included alongside one or more colourants. The titanium in the rutile causes phase separation, where 2 different glasses are formed within one glaze, and is responsible for the drama in some of the results.
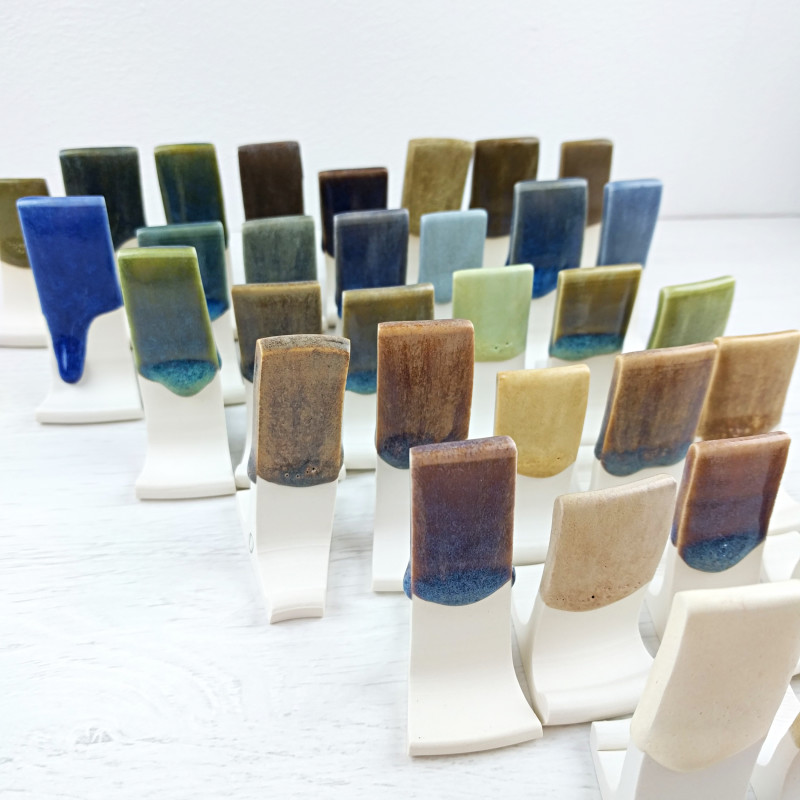
Here are a few of my favourite colourant variations

+ 3% Red Iron Oxide, + 1.5% Manganese Dioxide

+1.5% Copper Carbonate, +0.5% Cobalt Carbonate

+3% Manganese Dioxide

+ 3% Red Iron Oxide, +0.5% Cobalt Carbonate
Please try it and let me know how you get on, message me or use the hashtag oldforgecreations (I often miss @mentions on Instagram and there's no way to find them afterwards, but I'll see the tag). Good luck!


